
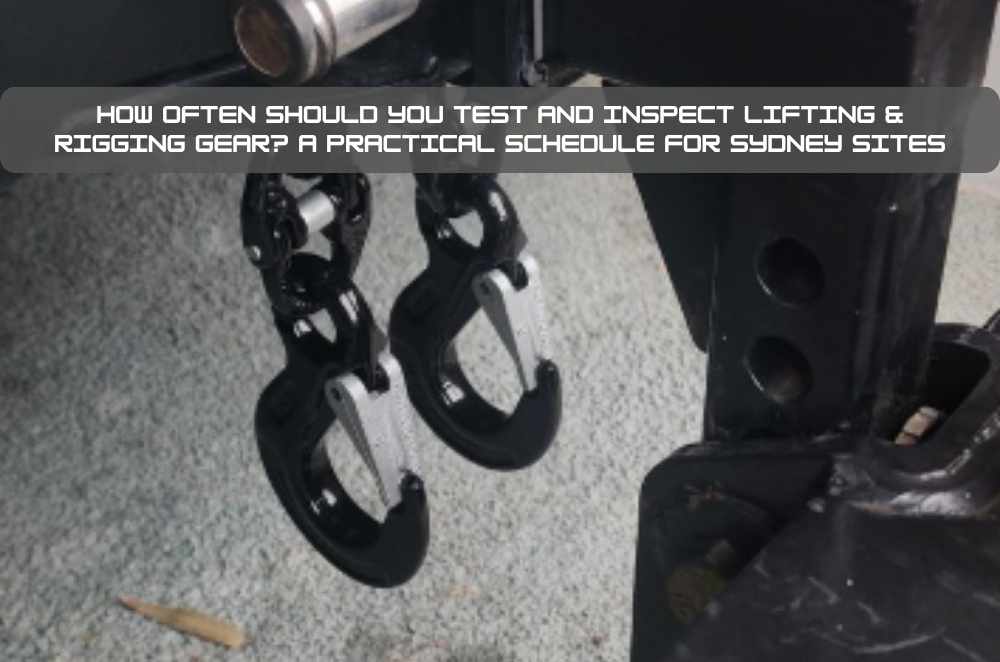
Lifting accessories are often treated like “small hardware” until something doesn’t fit, doesn’t seat properly, or forces a last-minute workaround.
For crews under pressure, that scramble often starts with a quick search for a lifting accessory store that has the right pieces available today, but availability alone doesn’t guarantee the setup will behave safely once the load comes off the ground.
Most of the ugly incidents start the same way: a lift is ready to go, the load is awkward, and the accessory on hand is “close enough”.
The goal isn’t to own more gear; it’s to have the right combinations available, verified, and easy to choose under time pressure.
The real job of a “small” lifting accessory
A lifting accessory’s job is to control how force is applied to a load, not just whether the load can be lifted. That includes how the load is connected, how the load is balanced, what gets side-loaded, and how easily the connection can be verified by the person doing the lift.
On paper, accessories can look interchangeable because the rated capacity is printed on them, but the lift rarely behaves like a textbook diagram. A shackle that technically fits can still bind at an angle, a hook can twist under rotation, and a lifting point can encourage side loading if it’s not oriented to the line of pull.
It also helps to think in “system terms”: accessory choice affects sling choice, sling choice affects edge protection, and edge protection affects whether the lift stays controlled when it starts moving.
Decision factors that matter (and why “fits” isn’t enough)
Start with the connection points on the load. If the load has engineered lifting points, the accessory decision should follow the manufacturer’s intended direction of loading, thread engagement (where relevant), and clearance.
Next, check the line of pull and how the lift will move. A static lift on a calm day is not the same as a lift that needs slewing, positioning, or controlled rotation, and that difference changes what “safe geometry” looks like.
Then look at the “shape problems” that accessories solve: reducing bending, avoiding point-loading, keeping the hook from bearing on an edge, or allowing the rigger to connect without putting hands in pinch zones.
Finally, decide what needs to be verified before the lift starts: legible markings, traceability, inspection condition, and whether the combination can be checked visually by a supervisor without guesswork.
Common mistakes that quietly increase risk
The most common mistake is selecting based on the working load limit alone and ignoring how the load will apply force in the real setup. Side loading, binding, or twisting can show up even when the numbers on the accessory look generous.
Another frequent miss is mixing components that “fit” physically but don’t fit functionally, like pairing a hook throat with an attachment point that encourages tip loading or contact on a corner. This is where damage starts that looks minor at first and later becomes the reason the gear is scrapped early.
A third mistake is relying on “the last job” as a shortcut for the next job. Loads change, lift paths change, and the simple swap of a longer sling leg can alter angles enough that the accessory no longer sits as intended.
The fourth is poor availability management: a site might own the right accessory types, but they’re not where the lift happens, so the crew improvises with what’s in the ute.
A simple on-site selection workflow (what to check, in what order)
Step 1: Define the lift task in one sentence. “Lift and place a pump skid onto plinth,” or “rotate and lower a duct section into position,” because that sentence tells you whether you need control, rotation tolerance, or just a straight pick.
Step 2: Identify the load’s connection points and their limits. Are they engineered lifting lugs, threaded points, or wrap-around arrangements, and what direction of pull do they actually support when the load is moving?
Step 3: Choose accessories to protect geometry first, then capacity. Pick shapes that reduce side loading and allow proper seating, then confirm the rating is sufficient for the expected loading and configuration.
Step 4: Confirm compatibility across the “chain”. Check the interface between accessory and sling, accessory and load, and accessory and lifting device, because most mismatches happen at these interfaces rather than in the middle of a component.
Step 5: Verify identification and condition before it leaves the ground. Markings should be legible, the component should be free of obvious deformation or damage, and the selection should align with site procedures for inspection and tagging.
If the goal is to standardise common picks across teams, keep a single reference list of approved accessory types and sizes for your most common lift tasks, and make it easy for crews to grab the same “known-good” combination every time.
Inspection, traceability, and when to retire gear
Inspection isn’t just about spotting defects; it’s about keeping the “known history” of each component clear enough that people trust it. When a crew can’t tell whether an item has been checked recently, they either stop work unnecessarily or take a gamble.
A practical approach is to separate three things: pre-use checks by the operator, scheduled inspections by competent personnel, and immediate removal from service when there’s visible deformation, damage, missing markings, or questionable history. The “maybe it’s fine” pile is where risk quietly accumulates.
Operator Experience Moment: I’ve watched a lift stall because the only shackle on hand technically fit the lug, but it bound at the first sign of angle change and everyone started debating whether to “just ease it” into place. The better move was stopping early, swapping to an accessory that seated cleanly, and restarting with a setup the whole crew could visually agree on. That pause felt slow in the moment, but it was faster than arguing mid-air with a load hanging.
Next 7–14 days: a practical first-action plan
Day 1–2: List the top five lift types that happen most often on site (by task, not by load weight). For each, note the connection method and where the lift usually happens.
Day 3–5: Do a quick “availability audit” of accessories where lifts actually occur. Identify what’s missing at the point of use, what’s duplicated in storage, and what’s hard to verify due to unclear markings or mixed bins.
Day 6–9: Build two standard kits: a “general lifts” kit and a “controlled placement/awkward load” kit. Keep them physically separate and labelled, and make it easy to check them back in.
Day 10–14: Run a short toolbox session that rehearses the selection workflow: task sentence, connection point limits, geometry-first choice, compatibility check, and verification. Capture the recurring edge cases and update the kits so the next crew doesn’t improvise.
Local SMB mini-walkthrough (Sydney, NSW)
A small fabrication shop in Western Sydney schedules a pickup for a skid frame at 7:00 am.
The yard rigger checks the lifting lugs and realises the planned connection will pull slightly off-axis during the initial lift.
They swap to an accessory that seats cleanly and keeps the line of pull aligned as the load clears the stands.
The team adds edge protection because the sling path kisses a sharp corner during the tilt.
Before the truck arrives, they tag the chosen components for that job so nothing gets “borrowed” at the last minute.
After the lift, they note the setup in a simple job card to repeat it without guesswork next time.
Practical opinions
Standardise the common lifts first, not the rare “hero” lifts.
If a setup can’t be quickly checked by someone else, it’s usually too fragile for real work.
Availability beats perfection when time pressure is high, so keep the right basics close to the lift zone.
Key Takeaways
Choose accessories to protect geometry and seating first, then confirm rating and compatibility.
Most failures start at interfaces: accessory-to-load, accessory-to-sling, and accessory-to-hook.
Build point-of-use availability so crews aren’t forced into “close enough” substitutions.
Treat traceability and clear markings as a productivity tool, not paperwork.
Common questions we get from Aussie business owners
How do we avoid overbuying while still being prepared?
Usually, the best approach is to map the most common lift tasks and build a couple of standard kits that cover those patterns, then add specialty items only when a repeat need shows up. Next step: write down your top five lift types and match each to a short, repeatable accessory list. In Sydney and surrounds, where jobs can shift quickly between sites, point-of-use kits often prevent last-minute runs and risky substitutions.
What’s the quickest way to improve safety without slowing the job down?
In most cases, it’s improving selection clarity and availability rather than adding more checks. Next step: adopt the five-step workflow (task sentence → connection points → geometry-first choice → compatibility → verify) and rehearse it in a toolbox meeting. On busy NSW sites, the shared “order of checks” reduces debates while the load is already on the hook.
Who should decide accessory selection: the operator, the supervisor, or procurement?
It depends on the lift complexity and how your business is structured, but the best outcomes usually come from combining operator input with a consistent standard set approved by whoever owns risk on site. Next step: have operators list what they reach for most and what regularly causes workarounds, then have a supervisor validate the standard kits against site procedures. For smaller Sydney businesses, this shared approach avoids procurement buying items that look right in a catalogue but don’t work in the yard.
When should an accessory be taken out of service?
Usually, it’s when there’s obvious deformation, damage, missing or unreadable markings, or any doubt about its history that can’t be resolved quickly. Next step: create a clear “quarantine” spot and rule that anything questionable goes there immediately for competent review rather than back into the bin. In NSW, where gear can move between jobs and vehicles, that quarantine step helps maintain trust in what’s in circulation.


Write a comment ...